This tutorial was mainly about listening insanely carefully as there were that many items to edit one step wrong and everything fell apart. Our task was Generate a 3D Logo or name in Cinema4D, by extruding a vector created and imported from Adobe Illustrator. I began by typing my name in a font. Once the typeface was selected you could edit the thickness and spacing of the text to get a 3D effect. I played around in the settings for a while before setting on the right size for my task. I wanted to keep it simple so i only used the word Ben. i then added a ground to the text and edited the text settings so there was gravity on the individual letters making them sit heavily on the ground. After establishing some sturdy text i added texture to the ground (matte metallic) and a purple colour to the text. Originally this looked rather dull so i took it bit further and added light. I experimented with different styles of lighting but eventually settled for a spotlight as it provided the best effect on the textures. I found the realtime light interesting though as it acted like the sun and would position itself with whatever time it was on the clock , for example 12:00Pm and the light would be above the subject.
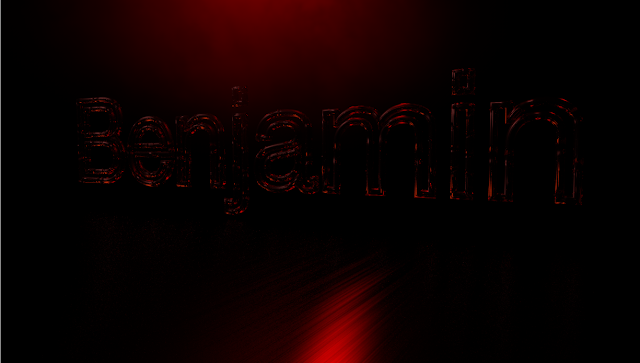
I repeated these steps for another step of text , this time using a stroke instead of block colour making the text hollow. The texture i used was like glass allowing the red light to be absorbed by and emitted by the glass lettering. Examples are shown below.

Overall i feel that Cinema 4D is a difficult piece of software to use and will definitely need some practise if i am to use it any further. One thing i would like to explore with it is product design and how you can make mock products such as bottles in the software. This is something i hope to explore in second year.
